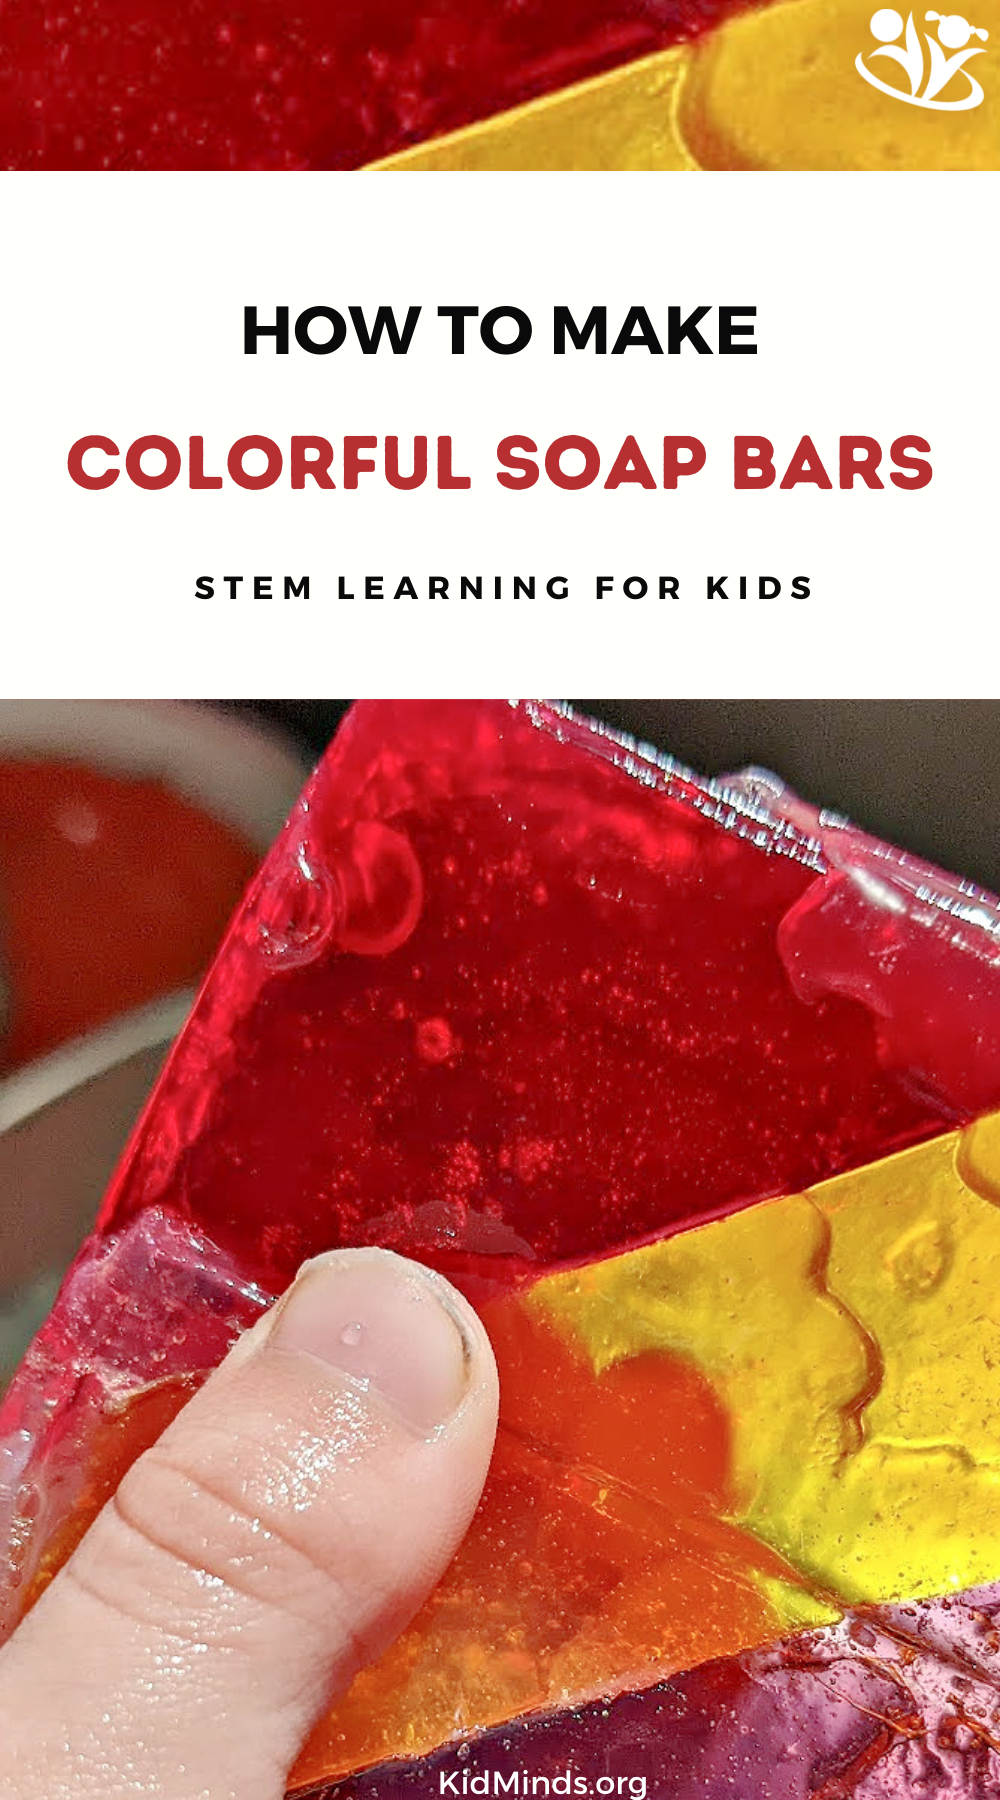
Inside: These colorful soap bars are a fun way to spend an hour with your children. It can also be used as a springboard for a lesson on the States of Matter or as a fantastic handmade gift.
Rain and warmer temperatures, the traditional heralds of spring in Chicago, are finally here. But there’s still a bit of time before flowers, leaves, and the radiant beauty of the blooming spring reveal itself.
We refuse to sit still, waiting for the dark gap to be over, and create as many colorful DIYs as we have time for.
I love to think that in the years to come, when my children look back at this time in their lives, they will fondly remember the time we spent together, side by side, making beautiful things.
Note:
I want to mention one important thing before I dive into the instructions. If you are making your rainbow soaps as a Mother’s Day gift or for a soap-making contest (with a one million dollar reward for the first place), go ahead and spray the soap with alcohol to avoid bubbles. It will make your soap look super smooth and professional. I will explain below what it means when the time comes.
In our case today, I just wanted an easy, low-stress activity that I could enjoy with my kids on a Sunday morning. This meant I let my kids do most of the work and didn’t let myself stress out about perfection and symmetry.
If you’re here for the science of soap making, scroll down for the lesson plan and science record printable.
How to Make Colorful Soap Bars with Kids
Disclaimer: This post contains Amazon affiliate links, which means I might get a commission from a qualified purchase.
What you need:
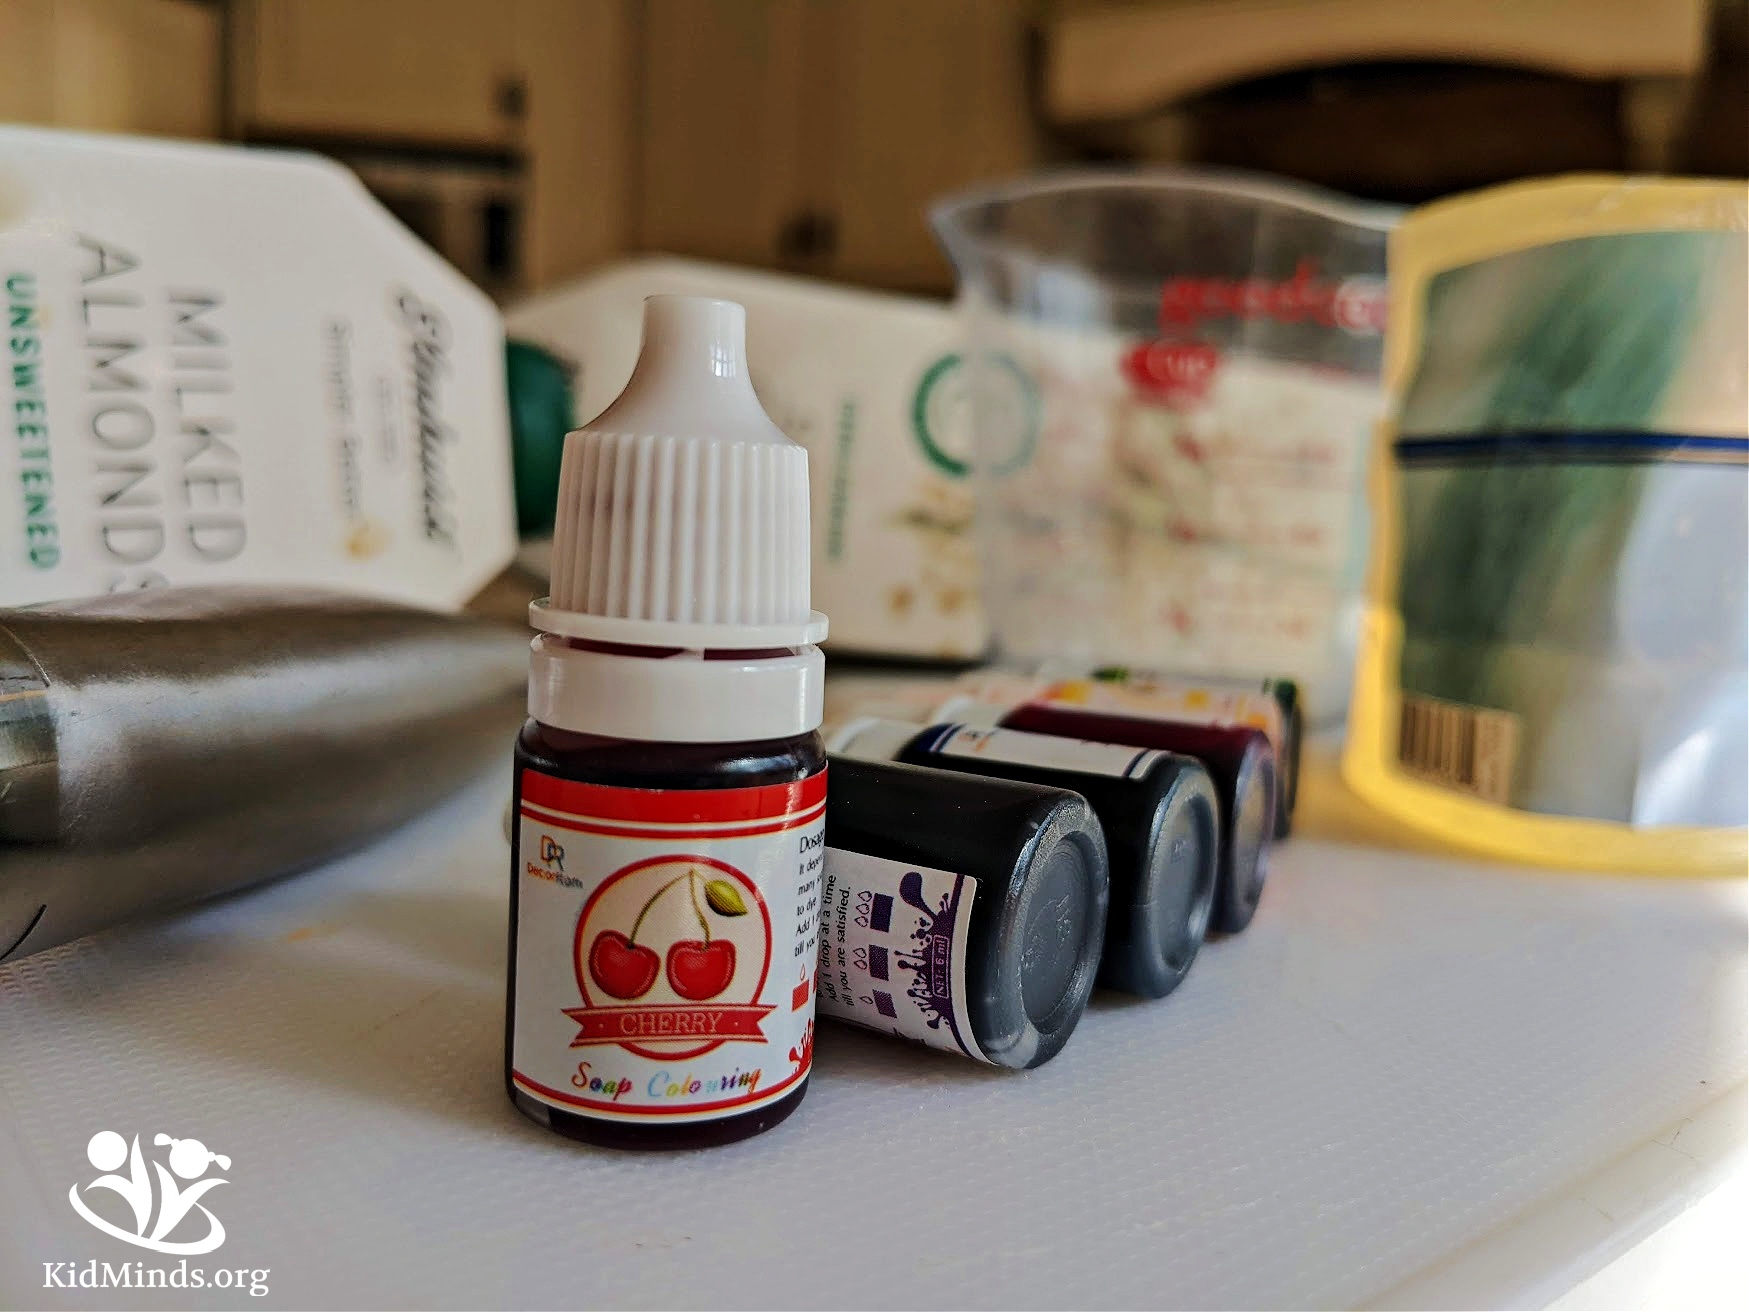
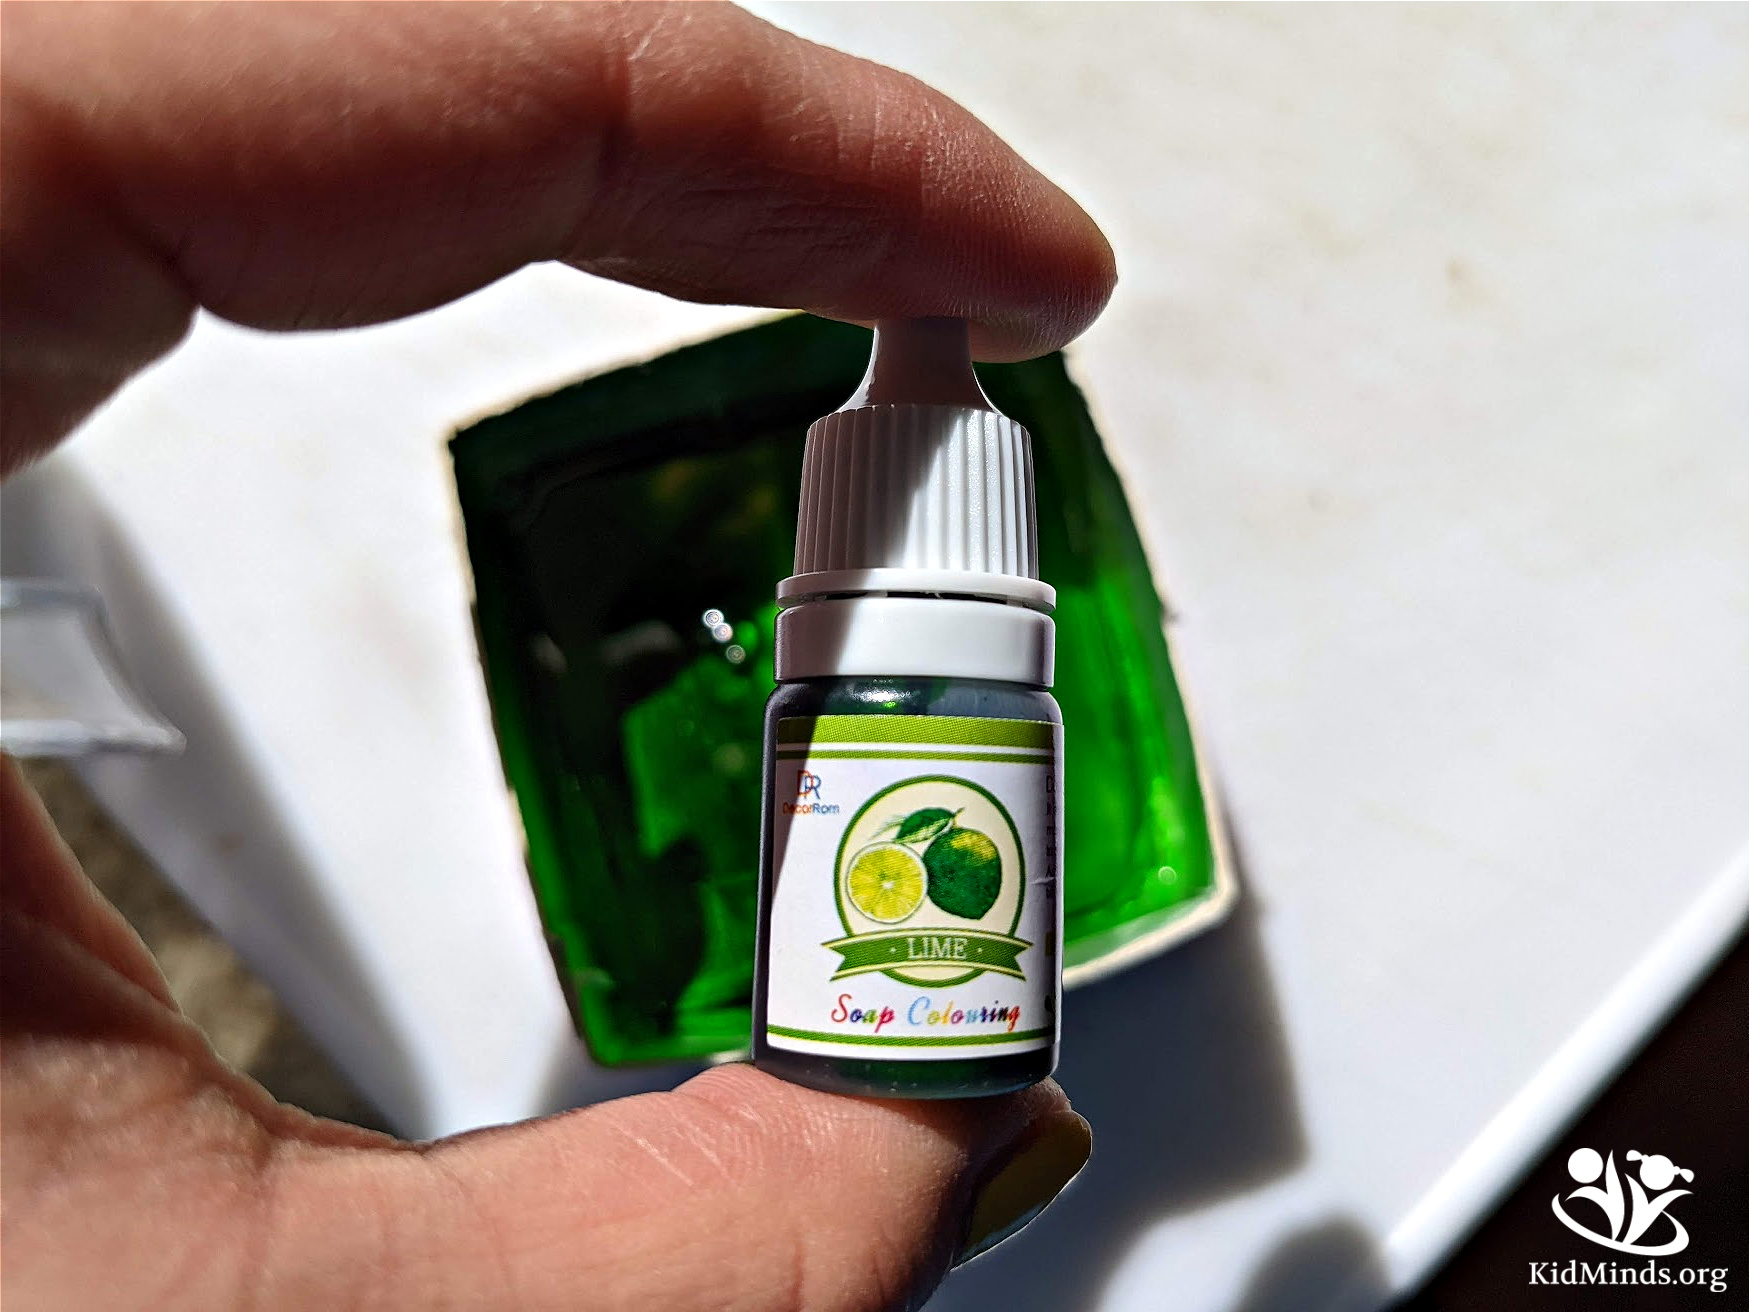
Soap colorants (we used a toxin-free brand)
DIY molds (See note below! Or you can buy soap molds).
Optional
Spray bottle with rubbing alcohol (if you want to be all professional and remove bubbles)

Molds
I have all kinds of silicone molds, but I didn’t use them today.
Do you know why?
Because I didn’t want you to buy a whole bunch of new things just for this one activity.
So, I decided to test milk cartons.
And yes, it worked splendidly.
Just be aware that different brands have different limitations. The one we used didn’t have sharply defined corners, so our soap came out a bit uneven (which is totally fine for us), but if you are a perfectionist, that might be a problem for you.
What to do:
1. Prepare Molds
If you are using milk cartons as molds, be sure to rinse them well first. Then, cut out the bottom part, and you are good to go.

2. Chop Glycerine Soap
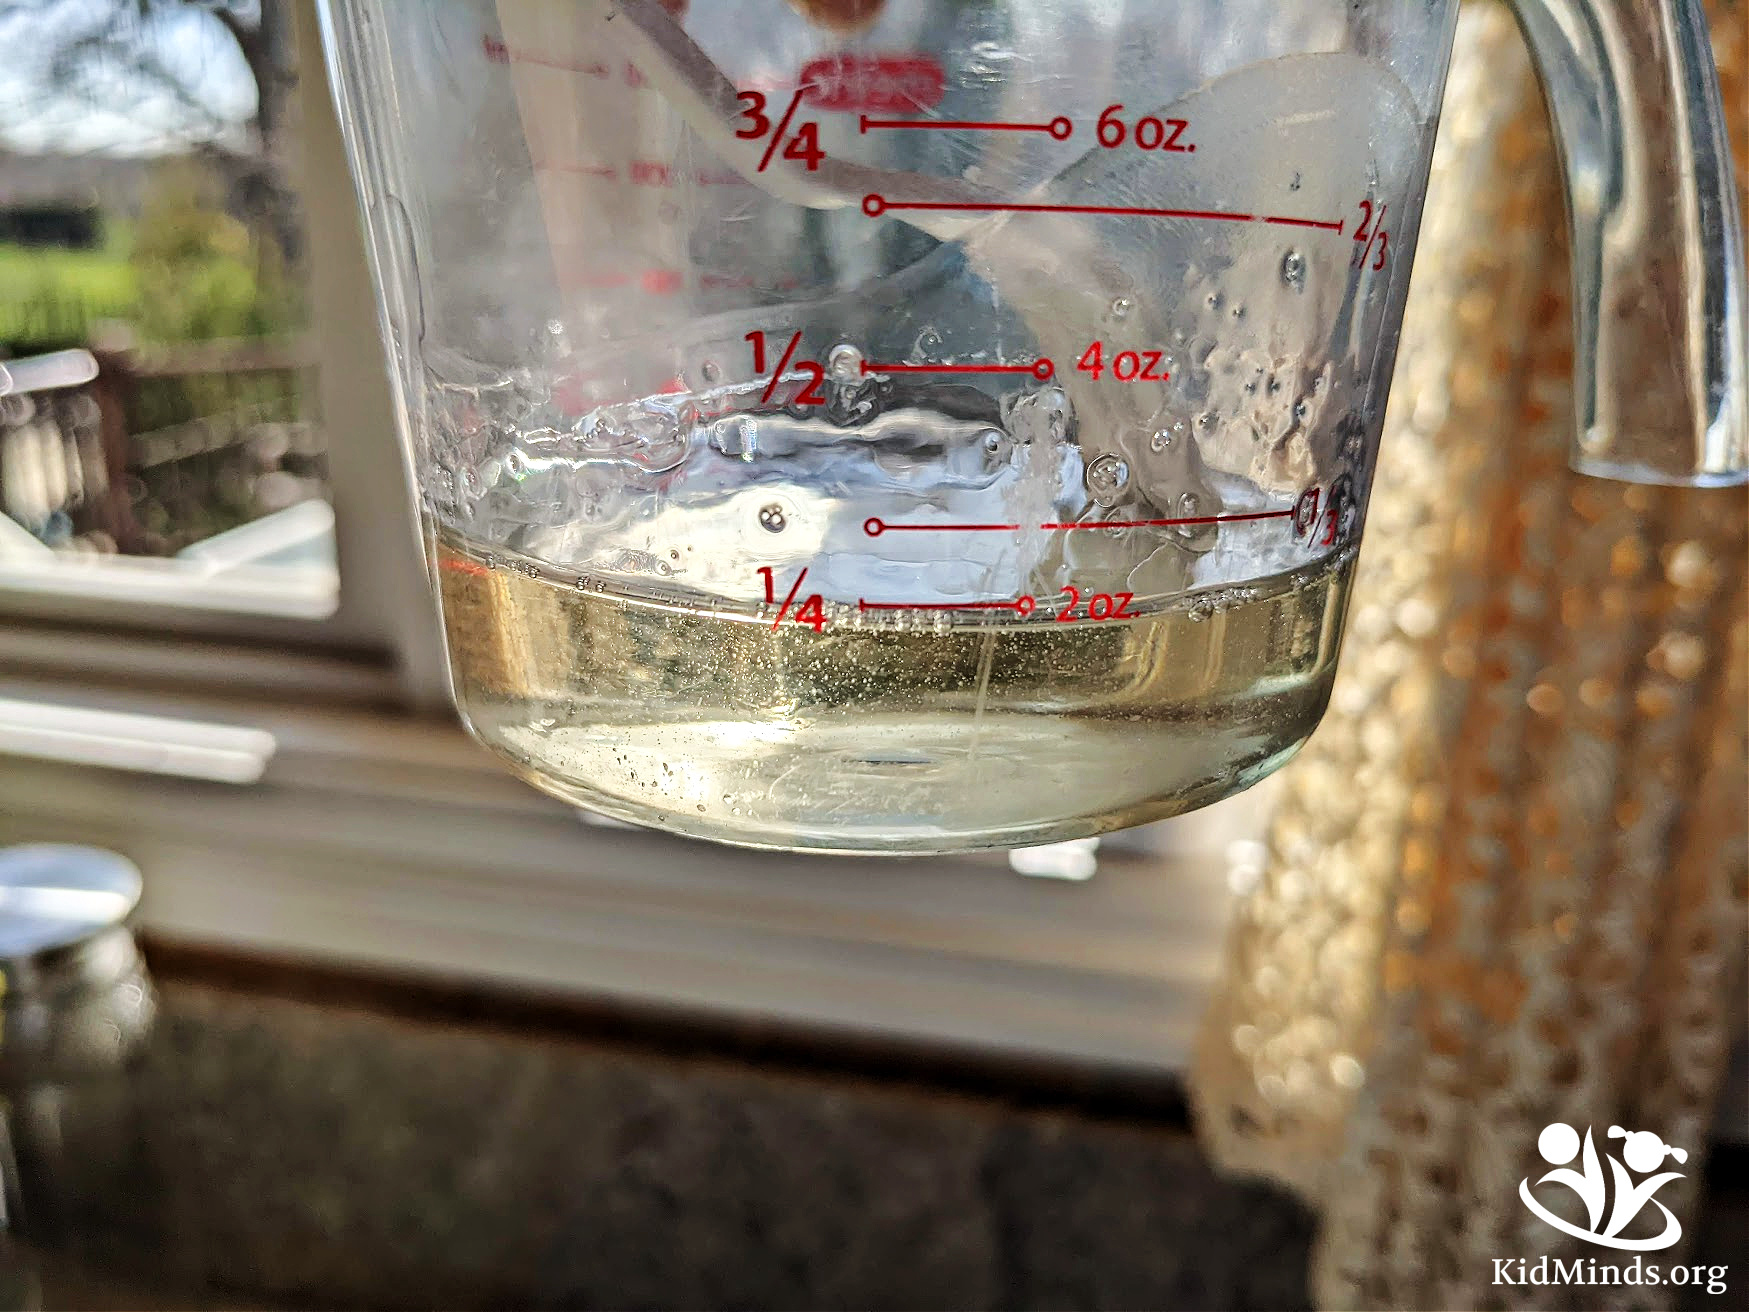
Chop clear glycerin soap into small chunks. Don’t worry; it’s soft and easy to chop. If you are using the same glycerine soap I linked above, then we are going to use up all 3 bars (12 oz) for this project.

3. Melt Glycerin Soap
Melt clear glycerin soap in a microwave (check every 15 seconds to make sure you don’t burn it). It’s melted enough that you can’t see extra-large chunks. Since soap is already hot, the smallish chunks will usually disappear after a good stir.
I like to work with one small portion at a time because it quickly gets solid at room temperature. For this project, I have four milk cartons and 12 oz of clear soap, which means my final outcome will be four bars of 3 oz each. At this stage, I shoot for 2 oz per mold because we are adding 1 additional ounce later to seal everything in.
4. Add Color
Pour melted soap into a mold, quickly add a few drops of color, and stir. You can put the mold into the fridge or freezer while you work on other colors.
How many drops of colors, you might wonder. We used 10 drops of yellow, 5 drops of red and green, and 3 drops of purple. As you are stirring, you can judge the intensity and add more if you are not satisfied.
If you are using alcohol, spray the surface of the soap to remove any bubbles now.
5. Repeat
Repeat the process until you fill all the molds and have all the colors you want.
Let the soap sit until hardened—about half an hour.
And now for the best part yet!
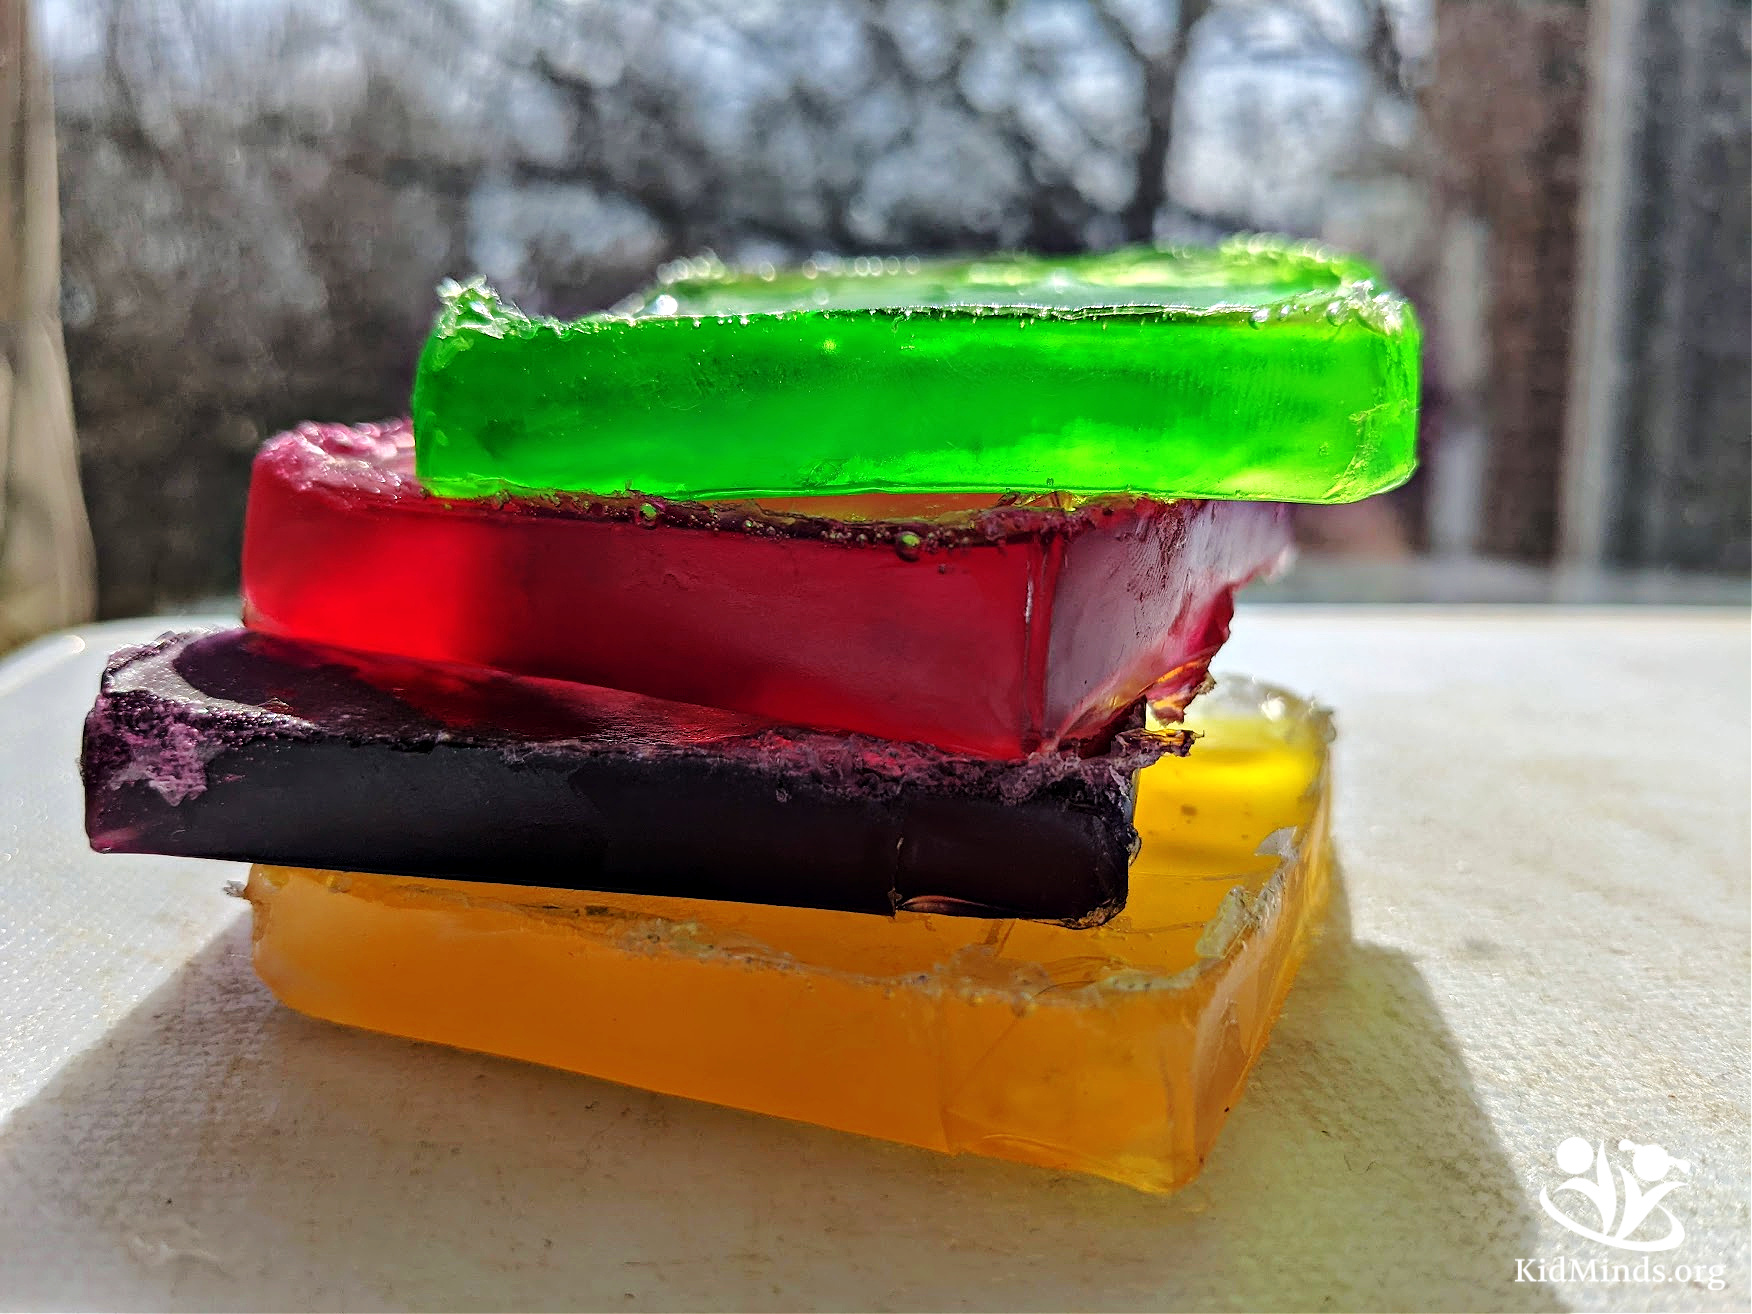
6. Play with Soap Shapes
Take soaps out of the molds and cut them into shapes that can fit together.
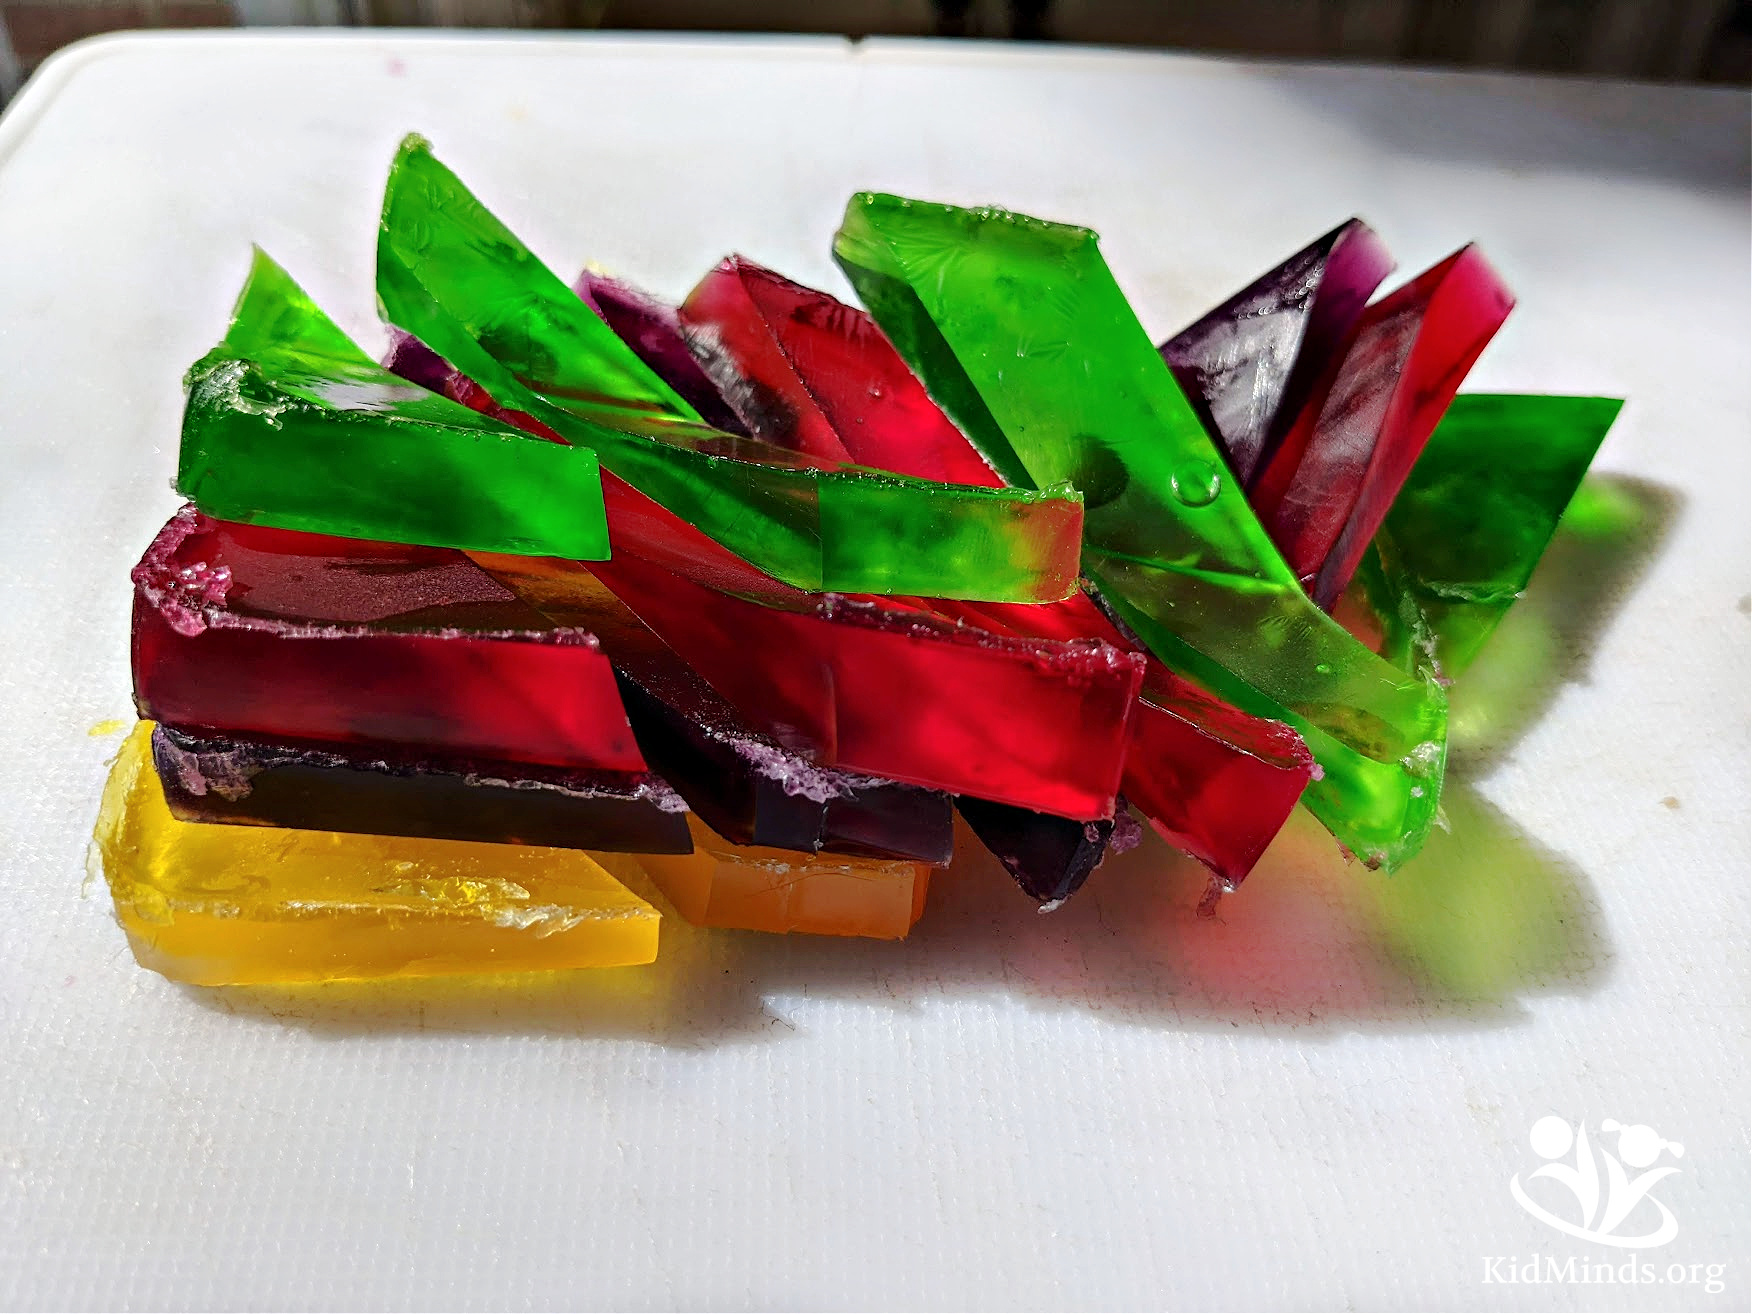
We really scored big with diagonal patterns.

Just play around with soap pieces to see how you can arrange them into new happy bars.

Do keep in mind that your final arrangement has to fit inside the milk carton mold, but don’t obsess about gaps between the pieces. The final step involves melting the remainder of the clear soap and pouring it over your colorful arrangement to seal it all together.
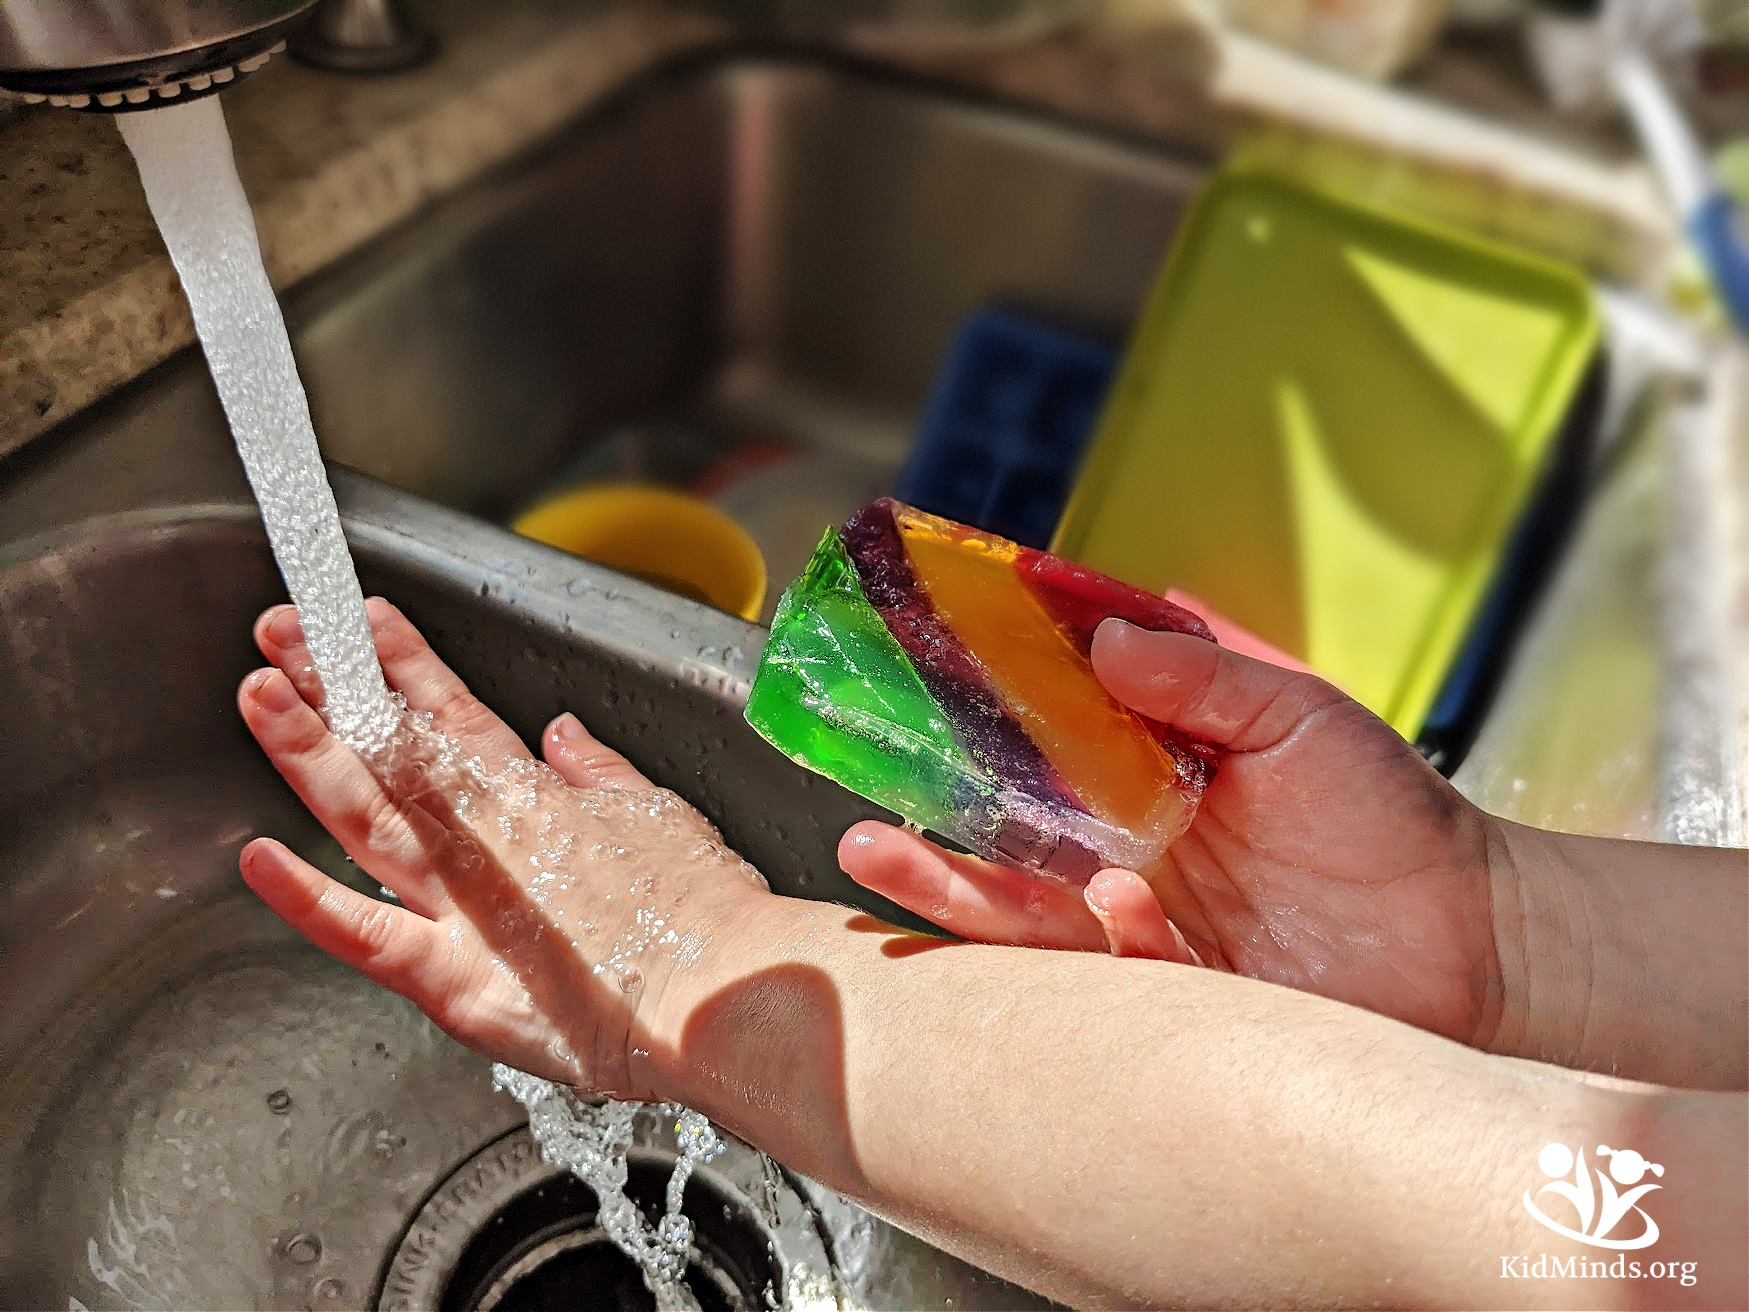
7. Final Step
Melt more clear soap and pour it into the mold just enough to cover the bottom.
Press in your colored bars, making sure everything fits well together, and that the clear soap rises up enough to cover the top. If not, add a drop more.
Let it sit for one hour, or pop it into a freezer for about 10 minutes.

Voila!
I think you will find that your kids want to wash their hands every five minutes!
Want cliff notes on the history of soap to share with your kids during the project? I wrote about it in Kids Soap Lab (Chemistry 101).
Soap Lesson
If you want to turn soap-making into a science lesson, here’s a plan. In addition to the items to make soap (above), you will also need a pocket mirror and a science printable (you can find it in the Kid Minds library of resources).
Start by explaining that:
- Soap is a product of a chemical reaction.
- Everything is made up of molecules, which are a group of atoms bonded together. A molecule represents the smallest unit of a chemical compound that can take part in a chemical reaction.
- The way molecules move within a substance determines whether it is a solid, a liquid, or a gas.
While making soap, you will be able to see how the molecules can move through different states of matter.
Here are the steps:
Step 1:
Pick up your glycerine soap and touch it, squeeze it, and bang it on the table. The molecules in soap are squeezed tightly together. We cannot move them out of place with our fingers. It’s solid. Make a note of this in the printable.
Step 2:
Microwave soap in 15-second intervals until it just begins to melt. Promptly hold a mirror over the melted mass and look at the mirror. It should get steamed up because of the escaping gas. When molecules are in a gas form, they move freely and quickly. They can bump into and bounce off of each other and do not stay in a container (unless you use a lid). Make a note of that in your printable.
Step 3:
Now, let’s look at the melted soap once more. The molecules in the melted soap that stay in the bowl are close together and can touch each other, but they can also flow and move around. It’s liquid. Make a note of that in the printable.
Step 4:
If you are using colorants, stir them in now and pour the mixture into molds. Leave for 30 minutes. When you come back, pop the soap out of the molds and test it. Is it solid, liquid, or gas? On your printable, in a precise, scientific manner, write, What state of matter do you think your final bar of soap is, and what do you think its molecules look like?
The Science of Soap
What makes soap fascinating? This is the part you can read on your own and then share with your kids as you are making the soap together.
Saponification, from Latin “sapon” soap + “facere” to make, is the beautiful name of the chemical reaction that produces soap.
For the reaction to occur, you need lye and fats. Lye is a chemical that you can buy from a chemical supply company or a craft store. Fats include many things you can find in your kitchen, like coconut oil, olive oil, castor oil, almond oil, or various other wax-like substances.
Saponification, or the process of breaking the bonds between the fatty acids, makes soap soluble in water. It’s also what gives the soap its cleaning power.
Here’s another example of saponification in action. It’s not related to soap making, but I thought it was a cool fact to share with my kids. We come across the process of saponification in the deterioration of old oil paintings. It happens when the heavy metals used to make pigments in the painting (like red lead) react with fatty acids (the oil in the oil paints), resulting in damage that can only be fixed by professional art restoration experts.
Leave a Reply