Inside: DIY mud bricks are a fun way to get kids outside and playing while practicing engineering skills, problem-solving, and creative thinking.
I love coming up with new outdoor learning activities for my kids. When kids play outside, they are breathing in the fresh air, exploring, moving, and making vitamin D as well as memories.
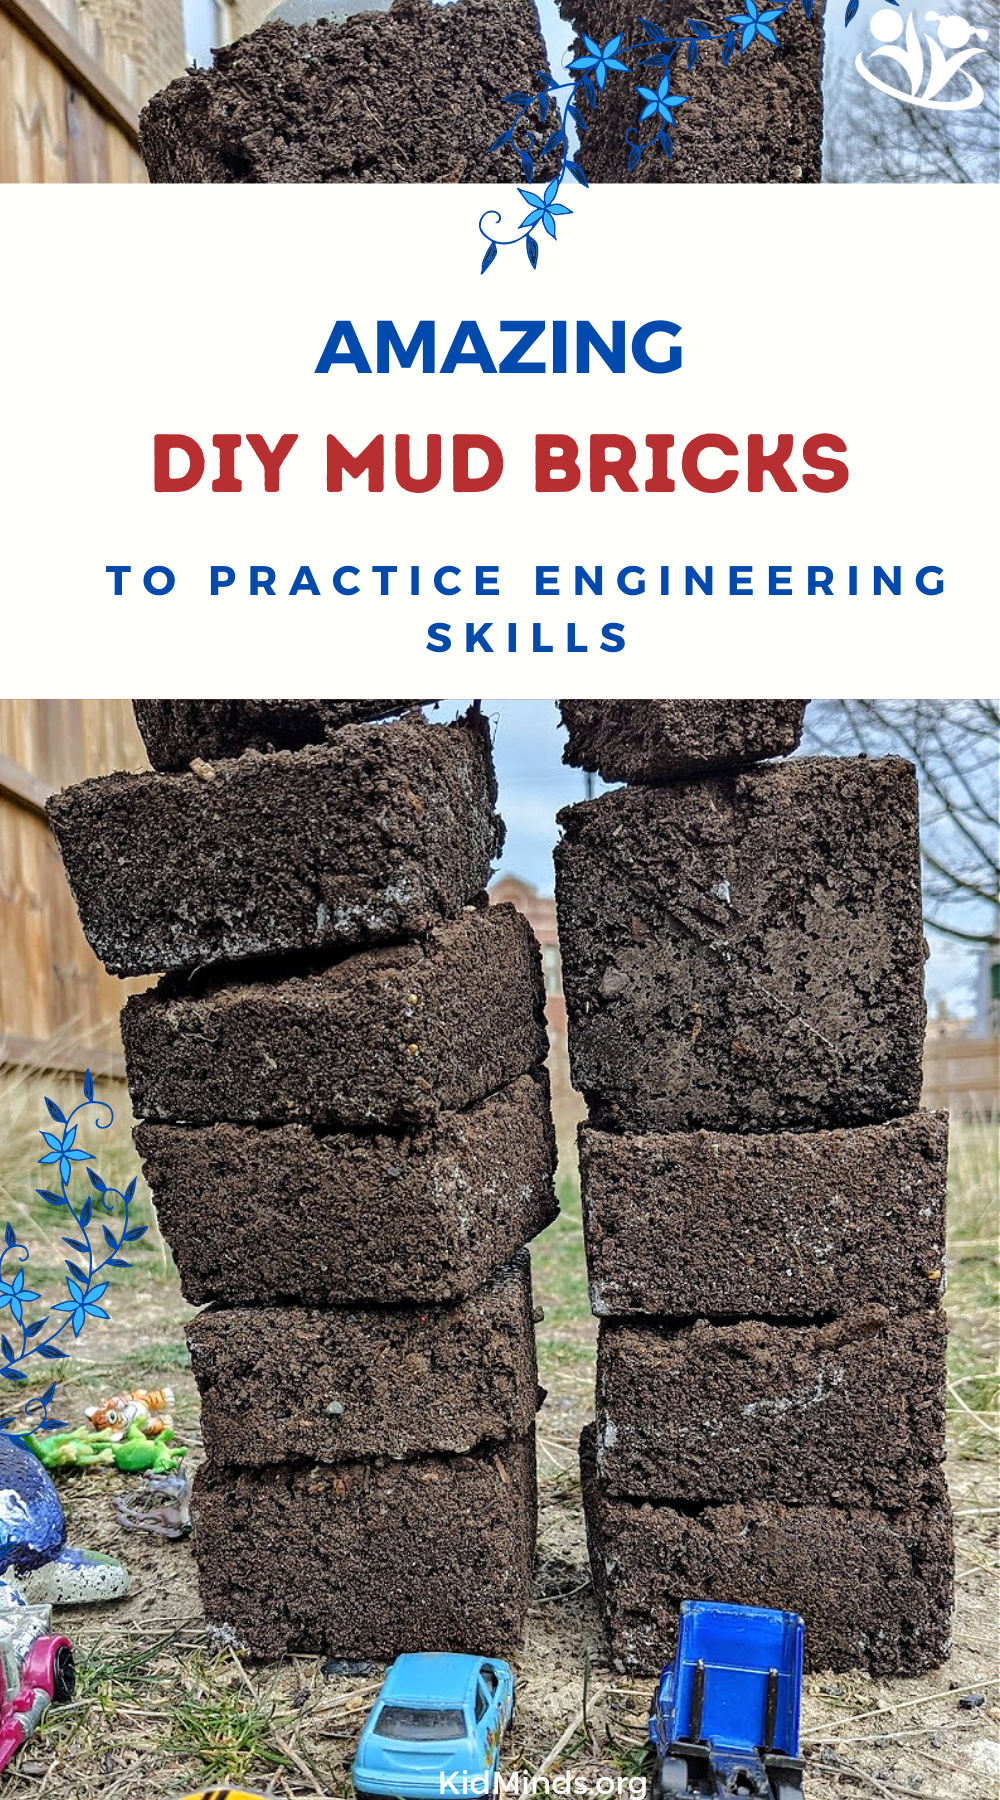
Lately, we’ve been having lots of fun with homemade mud bricks. They’re super easy to make, and kids of all ages can have fun with them for hours.
Once the bricks are ready, your kids can use them in many ways. Invite your kids to stack them, build fences, buildings, or add natural materials like sticks, stones, and pinecones, to extend play in creative ways.
Think about your kid’s current interests – cars, trucks, dolls, buttons – and consider how these things can be incorporated into their play.
And even though it looks like they’re just playing, in fact, the kids are learning about gravity, balance, and geometry. They’re also practicing engineering skills, problem-solving, and creative thinking.
DIY Mud Bricks
What you need
Milk carton
Scissors or knife
A patch of dirt
Toy shovels (or use hands)
Water
What to do
- Start by collecting empty milk cartons. I have four kids, so we drink LOTS of milk.

- Cut the tops off cartons. You might decide to use scissors, but for me, a sharp knife was just the right tool to cut quickly and efficiently. Our bricks are about 2 inches tall, but the size doesn’t really matter. I didn’t measure each carton before cutting them.

- Fill your molds with mud. You might want to experiment with mud in different locations around your yard or neighborhood. Invite your kids to dig, touch, test, and explore the texture. If your kids like mud play, they might decide to experiment by adding some clay, sand, tiny pebbles, and water. Whatever seems like a fun idea will at the very least teach them something.

- Pack it tight. You might laugh, but we discovered that the best way to fill all the empty spaces is to push down with a tennis ball. You can experiment with what you have handy. The goal is to make sure that there are no large pockets of air to compromise the integrity of your finished bricks.

- Let them dry outside in the sun for at least 2 days. You know your bricks are ready when they pop out of the mold without much resistance. You can reuse your molds as many times as you want.

- If your child has a hard time getting started, add cars, trucks, animals, or anything else your child usually plays with. Can you make a place for your animals? You put one block on top of another. It looks like a tall tower. I wonder what will happen if you add another block here?

Can you fill your truck with blocks? Where are you going to put them down? Can you make a line of blocks? Want to try building a road? A castle? A zoo?

Tell them that in Ancient Rome, people used mud bricks to build homes. Ask, What is the tallest tower you can build with your mud blocks? It looks fantastic! I wonder how many blocks are in it? Can you make a corner here?

Play and play!
But if you live in Chicago, watch out: it might suddenly begin to snow. Surprise!

Snow can be a great addition to your play!
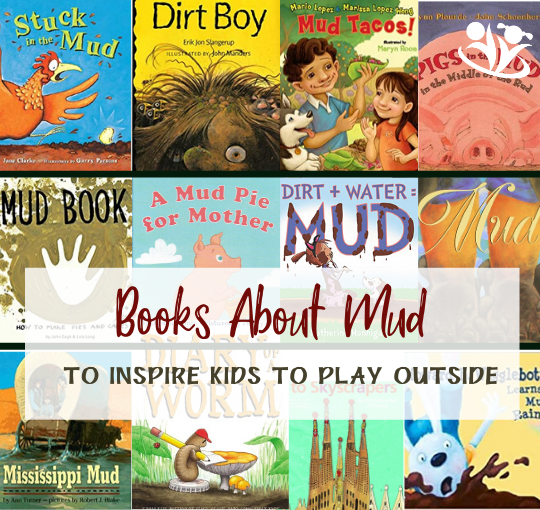
Are you looking for more mud play ideas?


[…] Mud Bricks […]